


Help with transplanting: give your plants a bigger pot
|
Tijd nodig om dit artikel te lezen: 2 min
Popular searches
Popular searches
|
Tijd nodig om dit artikel te lezen: 2 min
What about plants that have grown too big after sowing? Simple: you start by prickling them out and give them their own pot. The more space they have, the healthier and better they will grow. But how does prickling out work and more importantly, how do you do it? Read on below, we give step-by-step tips.
If you have pre-sown something, your seedlings are often too close together to grow optimally. So it is important to give those plants their own pot. A larger pot too, because often those plants have to survive until after the Ice Saints in May. Even if you pre-sow in seed trays, prickling out is important and you have to give the seedlings their own pot with peat-free potting soil. You do not have to loosen the roots - because you can just push out the plug - but it is still necessary to give them their own pot to grow bigger and stronger. Sowing soil is often a lot poorer than potting soil - to which organic fertilizers are usually added.
No, prickling out is not necessary for every plant. The vast majority of everything you sow in advance is, but a small part is not. Poppy, daucus, carrots and parsnips, for example, do not like to be sown in advance. They have a long taproot that grows straight down and should therefore not be disturbed . Prickling out such plants is out of the question. But if we are talking about zinnia, cosmos, dahlia, tomatoes and so on, then it is necessary to give each plant its own pot in the end. Prickling out sometimes requires some thought as a starter, but once you know what is and is not possible, everything goes automatically.
Did you know that we also have a well-stocked YouTube channel? With over 450 videos, we have a large database of information. Be sure to check out YouTube and subscribe, so you can stay up to date with the latest videos.
In this video Angelo shows you step-by-step how to transplant your seedlings.
We make a distinction between sowing in a container or sowing in a seed tray. In a seed tray you will have to carefully loosen the fragile roots, while in a seed tray you can simply push out the plug and plant. When to prick out? Seedlings are ready to be pricked out when they show their first real leaves . The first leaves you see when a plant germinates are so-called cotyledons. Only when they develop their first real leaves are their roots strong enough to be loosened. So be patient and only then prick out.
1. Fill a P9 pot with peat-free potting soil .
2. Put the soil in a tower, do not press it, but make a hole in the middle with a stick or your index finger . This method is now called Angelo's piles, don't ask.
3. Carefully loosen the seedling with a small spoon or nursery stick .
4. Place the seedling in the pot and press from the outside inwards .
5. Press the seedling down, tap the pot and set aside. You are now a pro at transplanting!
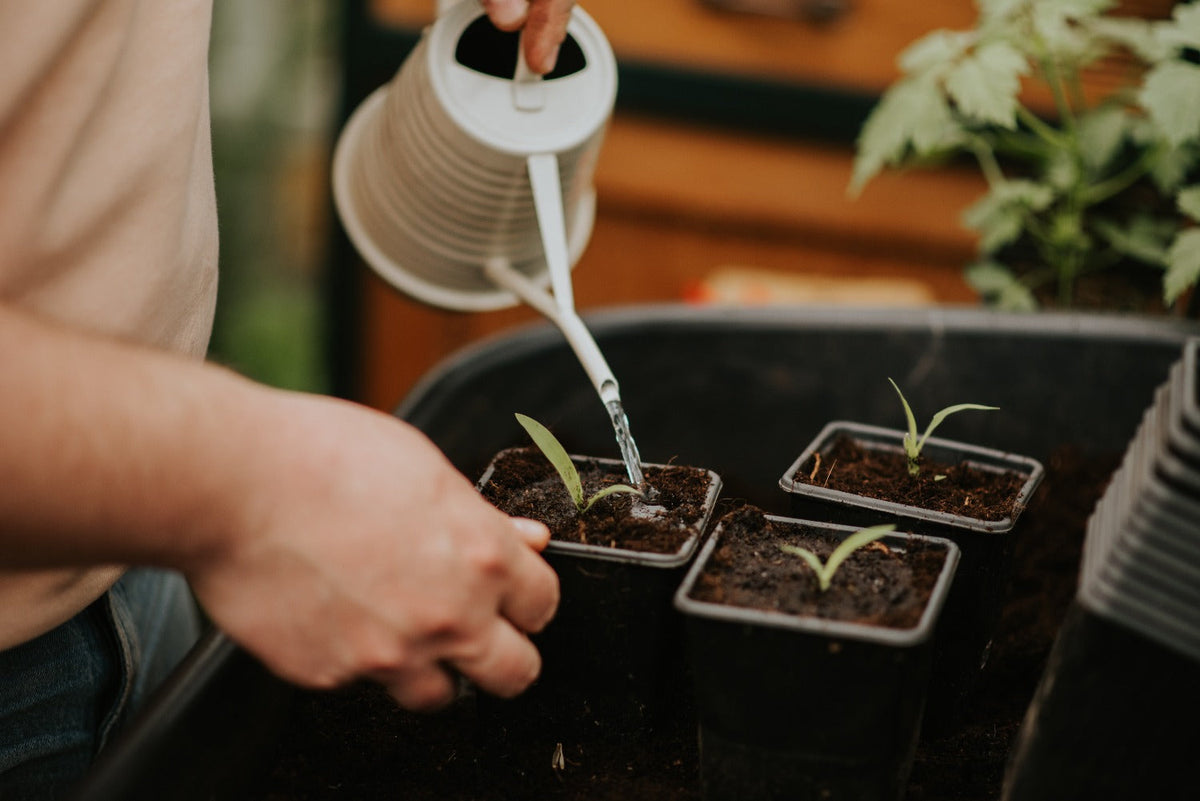
After you have finished prickling out, it is important to water immediately. You do not want your seedlings to wilt. Fill a bowl with water and let the pots absorb the water themselves. Do this for an hour and then pour away the excess water. Do not water again until the soil starts to dry out . Overwatering can promote mold.


